
Spring Lawn Prep Checklist: What to Do Before You Start Mowing Again

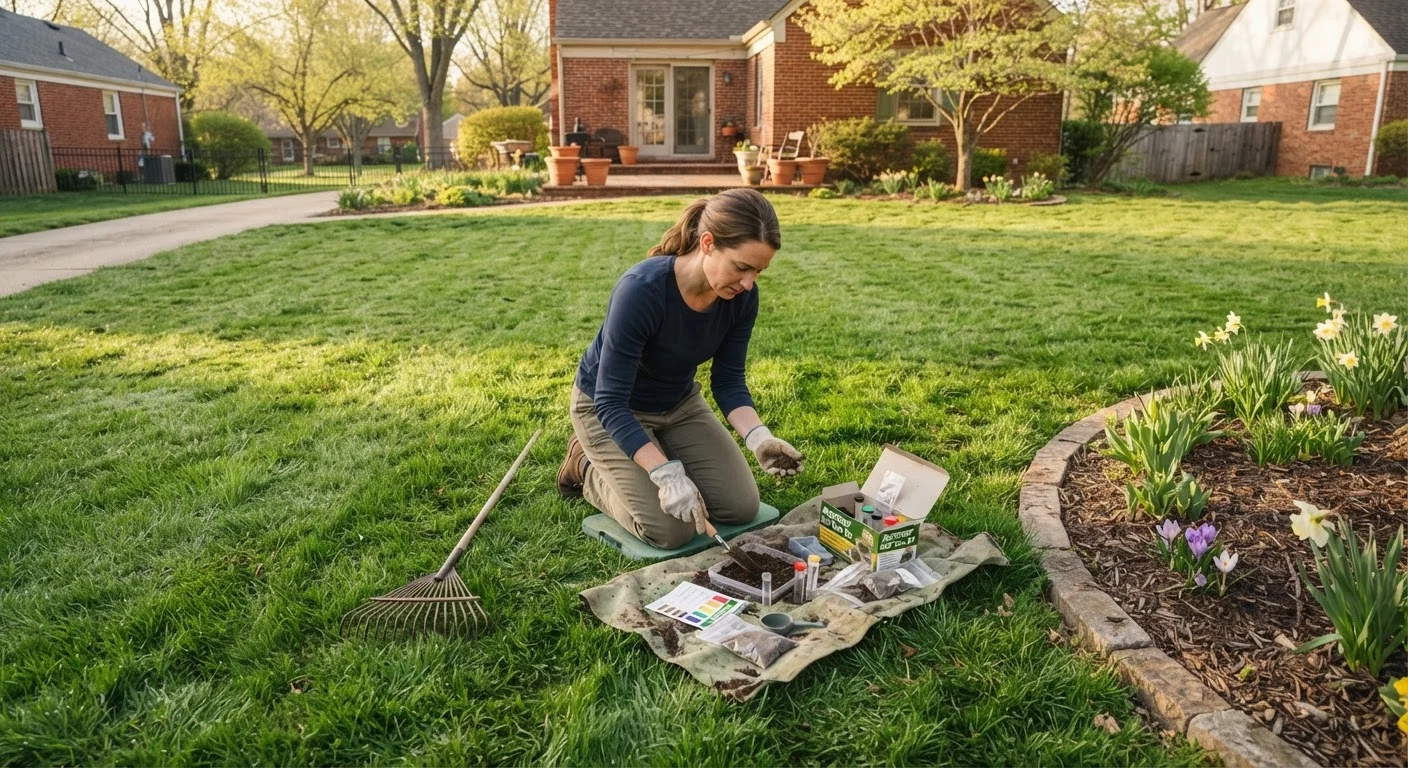
Photo: QuickSearches.net | It Doesn't Get Quicker Than This! editorial
Key Takeaways
- Complete lawn prep before your first mow to avoid stressing grass coming out of dormancy.
- Soil testing is the single most cost-effective step you can take - it tells you exactly what amendments you need.
- Thatch thicker than half an inch blocks water and nutrients and should be addressed before fertilizing.
- Mower blades should be sharpened at least once a season; dull blades tear grass and invite disease.
- Bare spots left unrepaired in spring often become weeds by summer - seed them early.
- Consistent spring prep reduces overall lawn care costs throughout the year.
Why Spring Prep Matters More Than the First Mow
Most homeowners think lawn season starts the day they drag the mower out of the garage. In reality, the work you do before that first cut determines how your yard performs all summer. Grass emerging from winter dormancy is stressed and vulnerable. Skipping prep steps - like dethatching, aerating, or testing your soil - means fertilizer gets wasted, bare spots become weed magnets, and turf weakens before it ever gets a chance.
This checklist walks you through every task worth doing before you start mowing again, grouped by category so you can tackle them in a logical order. If you're also thinking about reducing your long-term watering and maintenance burden, our guide to drought-tolerant landscaping is worth reading after you've completed these spring steps.
Lawn Assessment
Soil Preparation
Dethatching and Clean-Up
Bare Spot Repair and Overseeding
Fertilizing
Equipment Readiness
Tools and Supplies to Have on Hand
Before you start checking items off, gather your supplies. Running back and forth to the hardware store mid-project costs time and momentum. The list below covers everything referenced in this checklist - most items are reusable season to season, so the upfront cost pays for itself quickly.
Soil test kit or cooperative extension service
Determines your lawn's pH and nutrient needs so you apply only what's actually required.
Dethatching rake or power dethatcher
Removes compacted thatch buildup that blocks water, air, and nutrients from reaching roots.
Core aerator (rentable)
Pulls plugs of compacted soil to improve root-zone oxygen and drainage in high-traffic areas.
Grass seed matched to your region
Used to repair bare spots and overseed thin areas before weeds move in.
Slow-release lawn fertilizer
Feeds turf steadily through the growing season without burning new grass blades.
Mower blade sharpening tool or file
Restores a clean cutting edge so mowing cuts rather than tears grass.
Engine oil and air filter (mower-compatible)
Routine engine maintenance ensures reliable mower starts and performance all season.
Compost or top-dressing mix
Applied after aeration to improve soil organic matter and water retention.
Don't Fertilize Before Soil Is Ready
What to Expect After You Work Through the Checklist
Once you've completed these steps, your lawn will be in the best possible position to green up fast, resist summer stress, and crowd out weeds naturally. Don't be surprised if grass looks slightly worse for a few days after dethatching or aerating - that's normal. Roots are getting the air and water they need, and visible improvement usually follows within two to three weeks.
Keep tabs on how your lawn responds through the season. If yellow or patchy areas appear later despite your prep work, our article on why grass turns yellow in summer covers the most common causes and how to diagnose the right fix - it pairs well with the soil test data you'll collect this spring.
Good spring prep is a seasonal habit, much like preparing your vehicle for seasonal changes. The upfront time investment is modest; the payoff lasts all year.
The content on this site is provided for informational purposes only and should not be considered a substitute for professional advice. While we strive to provide accurate and up-to-date information, we make no guarantees regarding its completeness or accuracy. Always consult a qualified professional for advice specific to your circumstances before making any decisions