
Establishing a Drought-Tolerant Yard: A Step-by-Step Approach

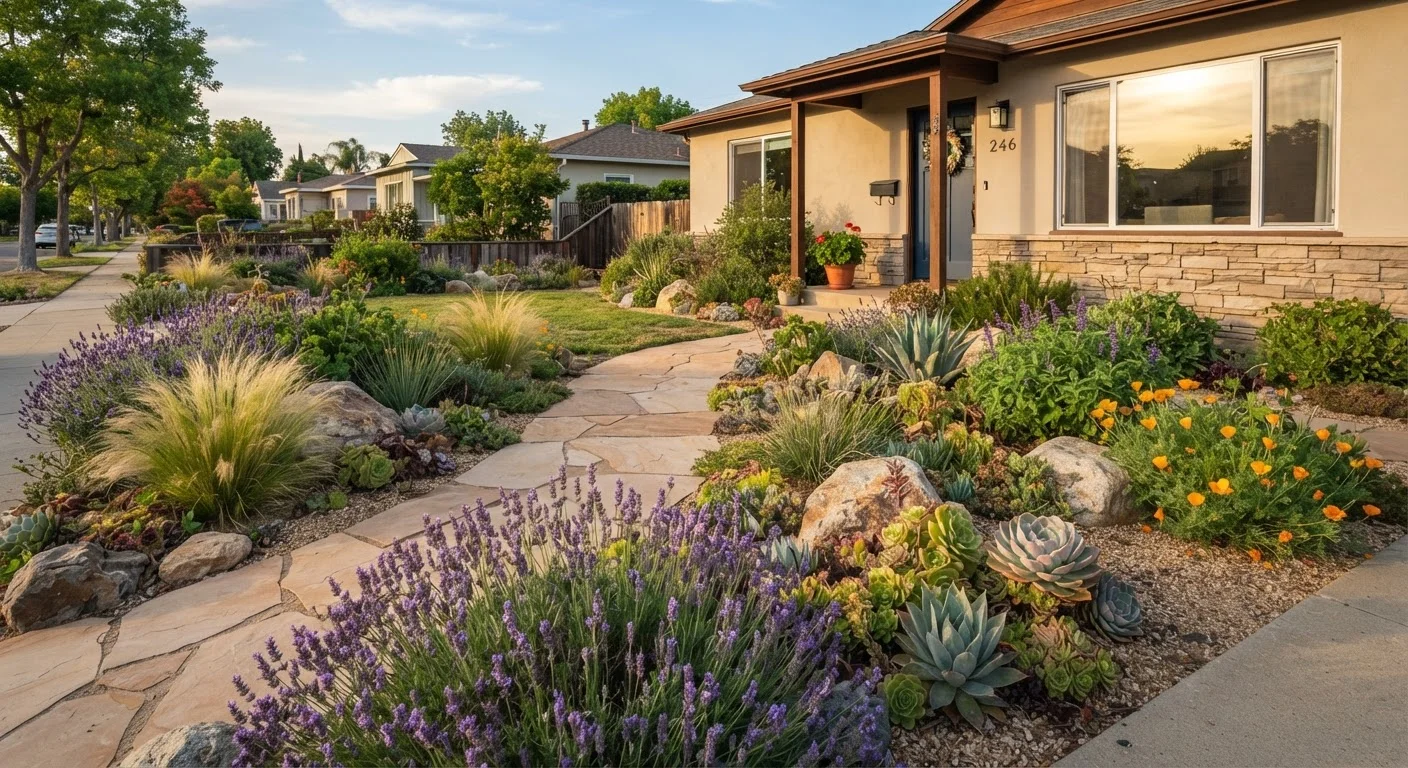
Photo: QuickSearches.net | It Doesn't Get Quicker Than This! editorial
Key Takeaways
- Replacing thirsty turf with drought-tolerant plants can meaningfully reduce outdoor water use over time.
- Soil preparation and organic matter amendment are the foundation of any successful xeriscape transition.
- Mulching 2-4 inches deep suppresses weeds and retains soil moisture between rain events.
- Grouping plants by water needs (hydrozoning) eliminates overwatering and cuts maintenance time.
- Native and regionally adapted plants generally require less intervention once established after one to two seasons.
Why Transition to Drought-Tolerant Landscaping?
A traditional grass lawn can consume 30-60 gallons of water per square foot annually in drier climates, according to the U.S. Environmental Protection Agency. For budget-conscious homeowners, that represents a substantial recurring cost - especially during summer months or in drought-prone regions. Drought-tolerant landscaping, sometimes called xeriscaping, replaces water-hungry plants with species adapted to low-moisture conditions, reducing irrigation demand without sacrificing curb appeal.
The benefits extend beyond the water bill. Drought-tolerant yards typically need less fertilizer, fewer pesticide applications, and less mowing. For more on how water habits affect your outdoor space, see our guide to common lawn watering myths. If you're weighing whether to incorporate food growing alongside ornamentals, starting a vegetable garden on a tight budget is worth a read for comparison.
What you will need
What You'll Need Before You Start
Gather your materials and do some light research before breaking ground. Knowing your USDA Hardiness Zone and your region's average annual rainfall will directly inform which plants will thrive in your yard without supplemental watering. Your local cooperative extension office is a reliable, free resource for regionally specific plant recommendations.
Garden spade or sod cutter
Removes existing turf and breaks up compacted surface soil before planting.
Soil amendment (compost or aged organic matter)
Improves soil structure and water retention, giving drought-tolerant plants a better establishment environment.
Mulch (wood chips, shredded bark, or gravel)
Applied 2-4 inches deep to suppress weeds and reduce surface moisture evaporation.
Soaker hose or drip irrigation kit
Delivers water directly to root zones during the establishment period, minimizing waste.
Landscape fabric (optional, use sparingly)
Can reduce weed pressure under gravel mulch, though it may restrict long-term soil health if used broadly.
Soil pH test kit
Confirms whether your soil pH is compatible with chosen plants before you invest in them.
Step-by-Step Installation Guide
Follow these steps in order for the most efficient transition. Rushing soil preparation or plant spacing are the most common mistakes that lead to disappointing results or replanting costs down the road.
Assess Your Yard's Conditions
Walk your property and note sun exposure, slope, and drainage. Mark areas that stay wet after rain versus spots that dry out quickly - these zones should receive different plant types. Take note of any existing trees or structures that create shade, since even drought-tolerant plants have light preferences.
Remove Existing Turf
For small areas, cut sod into manageable sections with a spade and remove it by hand. For larger areas, consider renting a sod cutter. Alternatively, sheet mulching (layering cardboard over existing grass, then covering with several inches of compost and mulch) can smother turf over 6-8 weeks without digging - a lower-effort option that also adds organic matter to the soil.
Prepare and Amend the Soil
Loosen compacted soil to a depth of at least 6 inches using a spade or fork. Work 2-3 inches of compost into the top layer to improve drainage and root penetration. Avoid over-amending: very rich soil can actually cause drought-tolerant plants to grow lush but weak. A light, well-draining soil profile is the goal. Our home composting guide explains how to produce your own amendment for free.
Select and Group Plants by Water Need
Choose plants suited to your USDA zone and local rainfall patterns. Prioritize species native to your region or regionally adapted cultivars, as these have evolved to handle local dry spells. Arrange plants in hydrozones - grouping those with similar water needs together so irrigation (when needed) is targeted and efficient. Place higher-moisture plants near downspouts or low-lying spots where runoff naturally collects.
Plant and Water In
Dig each planting hole roughly twice as wide as the root ball but no deeper. Set plants at the same depth they grew in their nursery containers. Water deeply at planting to eliminate air pockets around roots. During the establishment phase - typically the first full growing season - water once or twice per week in the absence of rain, then gradually reduce frequency to encourage deep root growth.
Apply Mulch
Spread 2-4 inches of organic mulch (shredded bark, wood chips) or inorganic mulch (gravel, decomposed granite) over the planted area. Keep mulch a few inches away from plant stems and crowns to prevent rot. Organic mulch will break down over time and need replenishment every 1-2 years; it also gradually improves soil structure as it decomposes.
Set Up Efficient Irrigation (If Needed)
Even drought-tolerant plants need supplemental water during establishment and during extreme heat events. Install a drip irrigation system or soaker hoses targeted at root zones rather than overhead sprinklers, which lose significant water to evaporation. Set timers to run early in the morning. Once plants are established after one to two seasons, many will only need irrigation during extended dry spells.
Transition in Phases to Manage Cost
Troubleshooting Common Setbacks
Even a well-planned drought-tolerant yard can hit early obstacles. Here are the issues homeowners most frequently encounter and how to address them practically.
Plants Wilting Despite Irrigation
During the first season, newly installed drought-tolerant plants still need regular watering to establish root systems. Wilting in year one doesn't necessarily mean the plant is wrong for your climate - it may simply need more consistent moisture while roots expand. Reduce watering gradually in year two.
Weeds Overtaking Bare Soil
Bare soil between plants is an open invitation to weeds. If you see breakthrough growth, top up your mulch layer and hand-pull weeds before they go to seed. Avoid chemical herbicides near newly planted specimens unless the product label specifically indicates it is safe for established ornamentals.
Plants Not Filling In as Expected
Many drought-tolerant perennials follow the gardening adage: sleep, creep, leap - slow in year one, modest in year two, vigorous by year three. Patience is often the solution. Our article on perennials vs. annuals can help you set realistic expectations for plant growth timelines. For a deeper look at how native plants perform over time, see what research actually shows about native plant maintenance.
Check Local Ordinances Before You Dig
The content on this site is provided for informational purposes only and should not be considered a substitute for professional advice. While we strive to provide accurate and up-to-date information, we make no guarantees regarding its completeness or accuracy. Always consult a qualified professional for advice specific to your circumstances before making any decisions