
Composting at Home Without the Smell or the Hassle

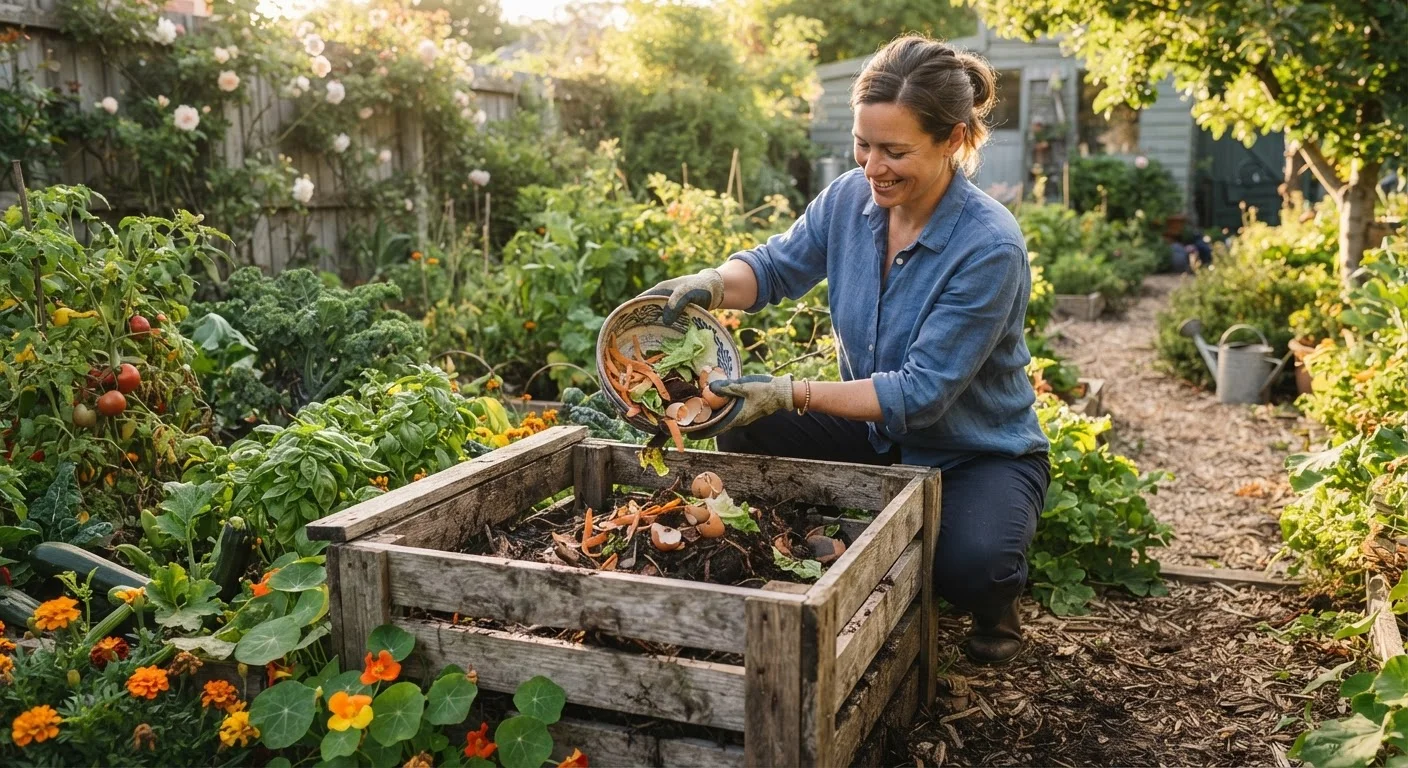
Photo: QuickSearches.net | It Doesn't Get Quicker Than This! editorial
Key Takeaways
- Balancing 'greens' (nitrogen-rich) and 'browns' (carbon-rich) materials prevents odors and speeds decomposition.
- A properly managed compost pile should smell earthy, not rotten - troubleshooting is straightforward.
- Home composting can save money on soil amendments and reduce household waste significantly.
- Most kitchen scraps and yard waste can be composted; a short list of items should always stay out.
- Finished compost dramatically improves soil structure, drainage, and nutrient availability.
Why Home Composting Is Worth the Effort
Bagged compost and soil amendments add up fast, especially if you're maintaining garden beds or working on improving lawn health. Home composting turns material you're already throwing away - vegetable peels, coffee grounds, fallen leaves - into a genuinely useful soil conditioner at no cost beyond a little time.
Beyond the savings, compost does things that synthetic fertilizers can't easily replicate. It improves soil structure, helping sandy soils hold water and compacted clay soils drain properly. It feeds the microbial communities that make nutrients available to plant roots. Understanding how compost fits into the bigger picture of soil health is worth the read - our article on soil amendments and when your lawn actually needs them covers the science in plain terms.
The reputation composting has for being smelly or complicated is largely undeserved. A well-managed pile smells like forest floor, not garbage. The steps below walk you through setup and maintenance in a way that keeps problems from starting in the first place.
What you will need
Compost bin or designated pile area
Contains materials, retains heat and moisture, and keeps pests out.
Garden fork or pitchfork
Used to turn and aerate the pile, which is essential for odor control and faster breakdown.
Small countertop container with lid
Collects daily kitchen scraps before transferring them to the outdoor bin.
Hose or watering can
Adds moisture to the pile when it dries out, maintaining ideal decomposition conditions.
Thermometer (compost or soil type)
Measures internal pile temperature to confirm active decomposition is occurring.
Step-by-Step: Setting Up and Running Your Compost Bin
Choose and set up your composting method
Select a method that fits your space and lifestyle. For most homeowners, a lidded plastic bin or a simple three-sided wooden enclosure works well. Place it in a partially shaded spot with good drainage - direct sun dries the pile too quickly, and a low area may flood.
The bin should sit directly on bare soil (not concrete) so beneficial organisms like earthworms can enter from below. A minimum volume of about one cubic yard (3×3×3 feet) retains heat efficiently, which accelerates decomposition.
Learn the green-to-brown ratio
Successful composting depends on balancing two types of materials:
- Greens (nitrogen-rich): Fruit and vegetable scraps, coffee grounds, fresh grass clippings, plant trimmings
- Browns (carbon-rich): Dry leaves, cardboard, paper bags, straw, wood chips
A common guideline is roughly 2-3 parts browns for every 1 part greens by volume. Too many greens and the pile turns slimy and smells; too many browns and it dries out and barely decomposes. Most home piles skew too green - save dry leaves in bags through fall to balance spring and summer scraps.
Build and layer your pile
Start with a 4-6 inch base layer of coarse browns like wood chips or shredded cardboard - this aids airflow at the bottom. Alternate layers of greens and browns as you add material over time. It does not need to be perfectly precise; the goal is variety and balance throughout.
Each time you add kitchen scraps, bury them in the center of the pile and cover with a layer of browns. This simple habit dramatically reduces odors and discourages flies.
Maintain moisture and aeration
Check the moisture level weekly. Grab a handful of material from the middle of the pile and squeeze it - it should feel like a damp sponge, releasing just a few drops of water. If it's too dry, add water with a hose. If it's soggy, mix in dry browns and turn the pile.
Turn the pile every one to two weeks using your garden fork, moving material from the outside toward the center. This reintroduces oxygen, which keeps the decomposition aerobic (and odor-free) and speeds the process considerably.
Recognize and fix common problems
Most compost issues have a simple fix:
- Smells like ammonia: Too many greens - add browns and turn the pile.
- Smells like rotten eggs: Anaerobic conditions from excess moisture or compaction - turn thoroughly and add dry material.
- Pile isn't breaking down: Too dry, too many browns, or pieces too large - add water or greens, and chop materials smaller.
- Pests or rodents: Food scraps exposed on the surface - always bury scraps and use a bin with a secure lid or pest-resistant base.
Harvest and use finished compost
Compost is ready when it looks and smells like dark, crumbly soil - you shouldn't be able to identify the original materials. This typically takes 2-6 months depending on conditions and management.
Sift finished compost through a coarse screen or hardware cloth to separate any large unfinished pieces (toss those back in the pile). Work it into garden beds at 2-4 inches deep, use it as a top dressing around existing plants, or mix it into potting soil. If you're growing food, this amendment makes a real difference - see our guide to starting a vegetable garden on a budget for more on building productive growing beds.
Never Compost These Materials
Once composting becomes routine, the benefits extend beyond the garden. Finished compost works as a mulch layer that suppresses weeds and retains moisture - two features that matter a lot if you're also transitioning to a drought-tolerant yard. Healthy, compost-amended soil also tends to support stronger plants that are better able to resist pest pressure - something our guide to garden pest control explores in more depth.
Speed Up Decomposition Naturally
Keep Your Pile Moist, Not Soggy
The content on this site is provided for informational purposes only and should not be considered a substitute for professional advice. While we strive to provide accurate and up-to-date information, we make no guarantees regarding its completeness or accuracy. Always consult a qualified professional for advice specific to your circumstances before making any decisions