
Small Closet, Big Potential: Maximizing Storage in Tight Spaces

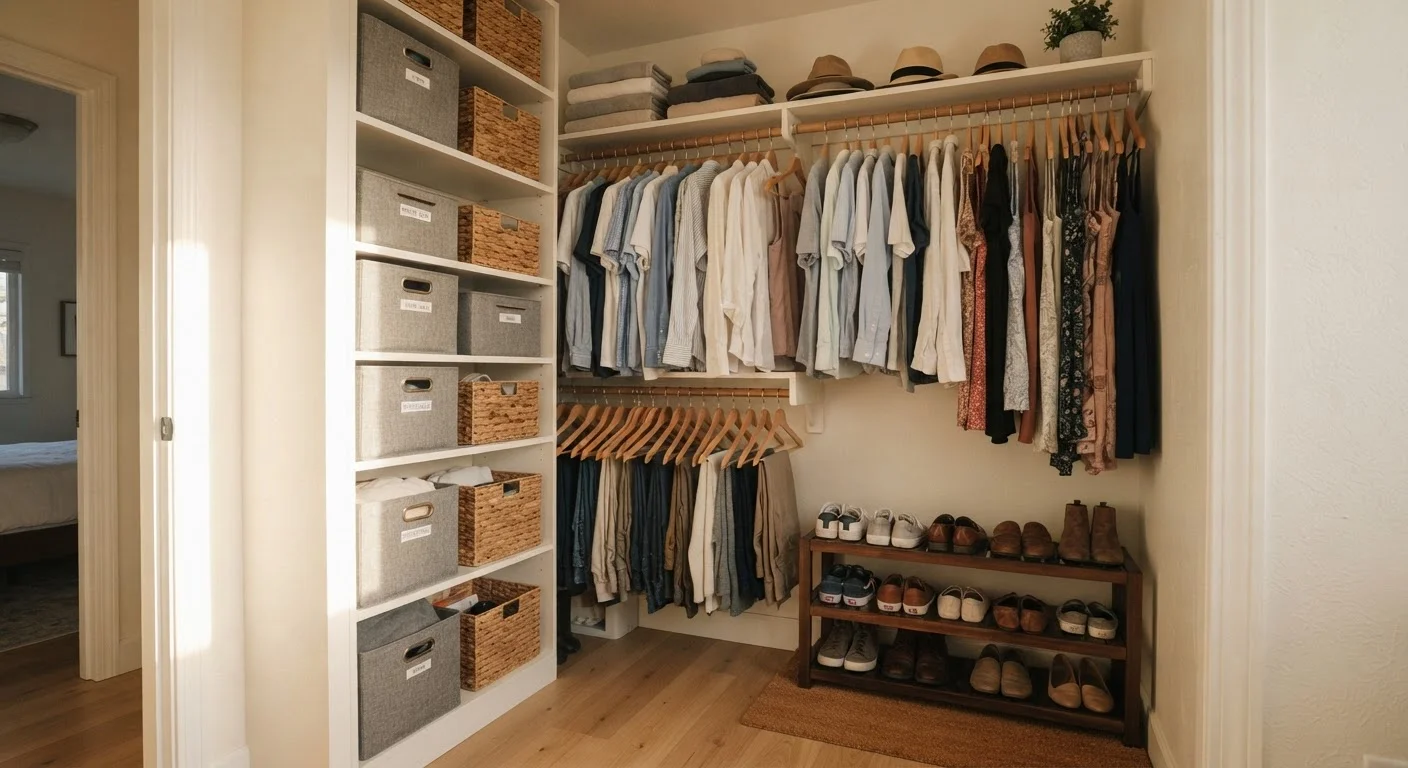
Photo: QuickSearches.net | It Doesn't Get Quicker Than This! editorial
Key Takeaways
- Vertical space is the most underused asset in a small closet - stacking up is key.
- Decluttering before organizing prevents you from storing items you don't need.
- Double hanging rods can nearly double usable hanging space without major renovation.
- Consistent habits - not just better bins - are what keep a small closet functional long-term.
- Seasonal rotation frees up prime closet real estate for what you actually use now.
Why Small Closets Feel Impossible (And Why They're Not)
A cramped closet doesn't fail because of its size - it fails because the space inside it isn't being used strategically. Most standard closets use only a fraction of their available cubic footage: a single rod, one shelf above it, and a floor that becomes a dumping ground. The result looks chaotic and feels hopeless, but the underlying problem is almost always layout, not square footage.
The good news is that most closet problems are solvable without knocking out walls or hiring a custom organizer. With a clear plan, some inexpensive hardware, and better sorting habits, even a reach-in closet that measures just 24 inches deep can hold a surprising amount - neatly. The key is treating the closet as a three-dimensional space and putting every inch - vertical wall height, door surface, and floor area - to deliberate use.
Organize First, Buy Second
What You'll Need Before You Start
Before pulling everything out, gather your supplies and set aside enough time to complete the project in one session. Stopping halfway typically means living with more chaos than you started with.
What you will need
Measuring tape
Accurately measure closet height, width, and depth before buying any shelving or organizers.
Double hanging rod or tension rod
Creates a second tier of hanging space for shorter garments like shirts and folded pants.
Stackable bins or baskets
Organizes folded items, accessories, and seasonal goods while using vertical space efficiently.
Over-the-door organizer
Converts unused door space into storage for shoes, accessories, or cleaning supplies.
Shelf dividers
Keeps stacked folded items from toppling, especially on wide shelves.
Vacuum storage bags
Compresses bulky off-season items like comforters and sweaters to dramatically reduce volume.
Keep costs in check by buying only what your measurements confirm you actually need. For ideas on stretching your organizing budget further, see our affordable organization approaches article.
Step-by-Step: Reclaiming Your Closet
Empty the closet completely
Remove every item from the closet before doing anything else. This lets you see the full space - including corners, floor area, and wall height - without the distraction of existing clutter. Pile everything into your room, grouped loosely by category (clothing, shoes, linens, miscellaneous).
Declutter before you organize
Sort every item into three piles: keep, donate/sell, and discard. Be honest - if you haven't used something in a year and it doesn't serve a specific seasonal purpose, it's likely taking up space you need. As our article on common organizing myths points out, adding more storage without first reducing volume is one of the most common mistakes homeowners make.
Measure and sketch a layout
Measure the closet's total height, width, and depth. Note where the existing rod and shelf sit. Then sketch two or three layout options on paper: Where could a second hanging rod go? Is there floor space for a small dresser or cube organizer? Could the top shelf be raised to allow taller stacking below? Planning on paper before purchasing anything saves money and frustration.
Maximize vertical space from floor to ceiling
Most closets have 18-24 inches of wasted space above the top shelf. Add a second shelf near the ceiling for items you access rarely - vacuum bags of off-season clothing, spare linens, or luggage. On the floor, use stackable bins or a small shoe rack to prevent items from piling up loosely. The goal is a clear zone for every height level: high shelves for rarely used items, mid-level for everyday access, floor for shoes and larger containers.
Install a double hanging rod for short garments
If your wardrobe includes shirts, jackets, folded trousers, or children's clothing, a second hanging rod beneath the existing one can nearly double your hanging capacity. Tension-rod versions require no tools or wall hardware, making them a renter-friendly option. Dedicate the upper rod to longer items (dresses, full-length pants) and the lower rod to shorter ones.
Use the door as bonus storage
The back of the closet door is often completely ignored. An over-the-door organizer with pockets can hold shoes, belts, scarves, cleaning supplies, or toiletries depending on the closet's purpose. This adds meaningful capacity without touching the interior layout at all.
Return items with intention and maintain the system
Put items back by frequency of use: what you reach for daily should be at eye level and front-center. Less frequent items go higher, lower, or further back. Label bins so everyone using the space knows where things belong. A system only works if it's easy to maintain - if returning something to its spot takes more than a few seconds, the system will quietly break down. For shared households, see our guide on organizing when people have different habits.
Spend Less, Organize More
Keeping the System Working Over Time
The hardest part of closet organization isn't the initial overhaul - it's preventing the slow creep back to disorder. Small closets are especially vulnerable because there's little margin for error. A few items tossed in carelessly can quickly fill the space.
Build a simple habit: anything that comes into the closet displaces something else. If you buy a new item of clothing, an old one leaves. Do a brief scan every few weeks to catch items that have drifted out of place. And don't overlook the impact small physical upgrades can have on how your home functions day to day - our piece on small upgrades that change how a home feels covers related wins throughout the house.
Adding Shelving? Check Your Walls First
A well-organized closet isn't a one-time project - it's a maintained system. But once the infrastructure is in place and the habits are set, keeping it functional takes only minutes a week.
The content on this site is provided for informational purposes only and should not be considered a substitute for professional advice. While we strive to provide accurate and up-to-date information, we make no guarantees regarding its completeness or accuracy. Always consult a qualified professional for advice specific to your circumstances before making any decisions