
Home Improvement

Painting a Room: What Pros Do That Most Homeowners Skip

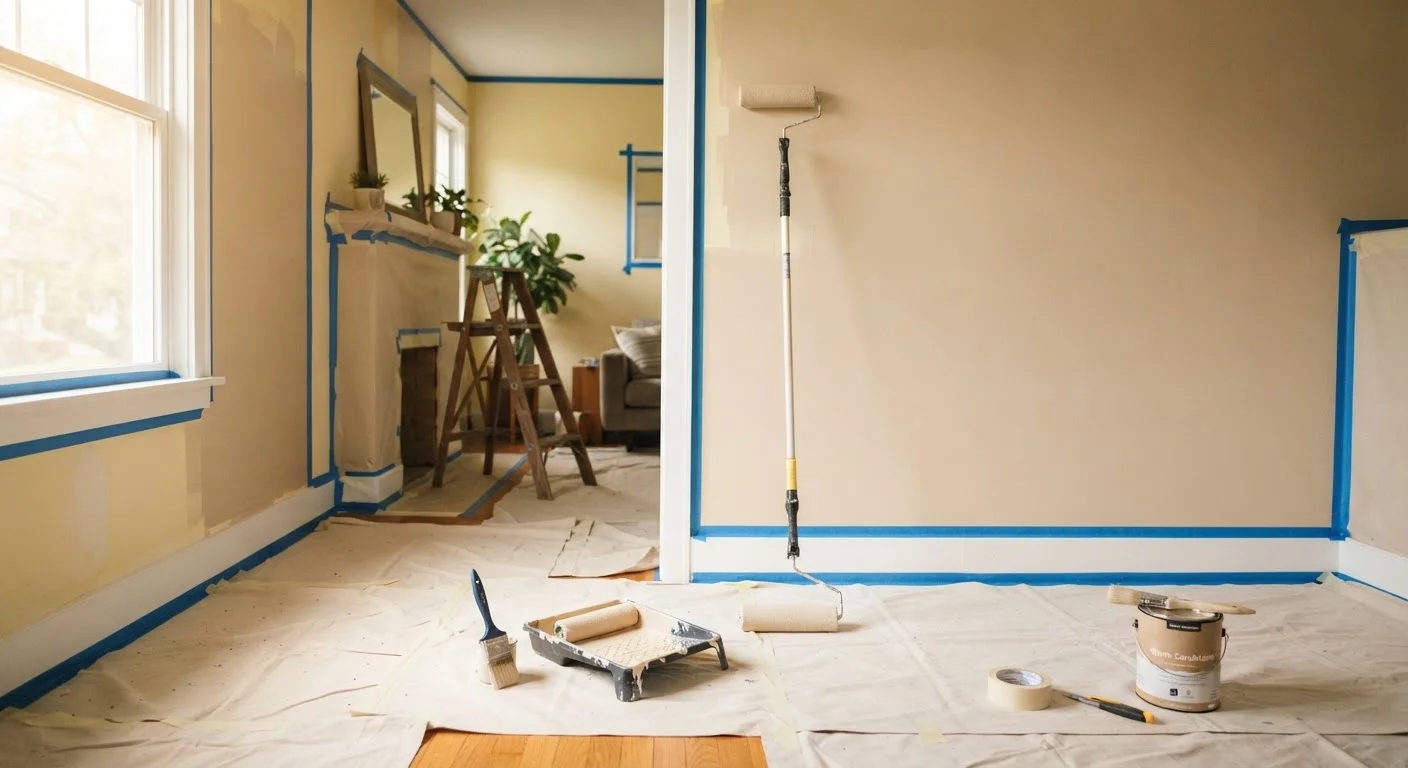
Painting a Room: What Pros Do That Most Homeowners Skip

Photo: QuickSearches.net | It Doesn't Get Quicker Than This! editorial

Prep work, primer, and proper technique make the difference between a paint job that lasts and one that peels. Here's the full picture.

Key Takeaways

  • Thorough prep work — cleaning, patching, and sanding — is the single most important step most homeowners skip.
  • Primer is not optional: it improves adhesion, evens out surface variations, and helps true paint color show through.
  • Cutting in before rolling and maintaining a wet edge prevents visible lap marks and streaks.
  • Two thin coats outperform one thick coat every time for durability and appearance.
  • Allowing proper dry time between coats and before returning furniture protects your finished result.

Why Most DIY Paint Jobs Fall Short

Painting looks simple — open a can, grab a roller, go. But the gap between a professional-looking result and a patchy, peeling disappointment almost always comes down to steps taken before the brush touches the wall. Pros spend roughly half their total project time on preparation. Most homeowners spend almost none.

If you've ever finished a room only to notice streaks, roller texture, bleed-through stains, or paint that chips within a year, skipped prep is the likely culprit. This guide walks through what professional painters actually do — and why each step earns its place in the process. If you're just getting started with home projects generally, our beginner's guide to home improvement covers the foundational tools and mindset worth having first.

The Practices That Separate Good Paint Jobs from Great Ones

Each of the following practices is something professional painters apply consistently. Skipping even one can compromise the final result.

1

Clean walls thoroughly before doing anything else.

Paint doesn't bond well to dust, grease, or residue. In kitchens and bathrooms especially, invisible film on the surface causes paint to bubble or peel within months. Cleaning costs almost nothing in materials and dramatically extends the life of the finished coat.
Example: Wipe walls with a diluted trisodium phosphate (TSP) cleaner or a mild detergent solution, then rinse and let dry completely before proceeding.
2

Fill every hole, crack, and dent — then sand smooth.

Fresh paint amplifies surface imperfections rather than hiding them. Light hitting a patched but unsanded area creates shadows that make the repair more visible than the original damage. Sanding also gives the surface better mechanical grip for primer and paint.
Example: Use lightweight spackling for small nail holes, apply it slightly proud of the surface, let it dry, then sand flush with 120-grit sandpaper and wipe away dust before priming.
3

Always use primer on new drywall, stain-prone surfaces, or dramatic color changes.

Primer seals porous surfaces, blocks stains like water marks and smoke residue from bleeding through, and gives paint a uniform base to adhere to. Skipping primer on new drywall is one of the most common mistakes — it leads to uneven sheen and wasted paint as the drywall absorbs coat after coat.
Example: On a wall with a dark brown existing color being painted over in a pale gray, one coat of tinted primer can eliminate the need for three or four additional finish coats.
4

Cut in before you roll, and keep a wet edge throughout.

Cutting in — painting a neat border along trim, corners, and ceilings with a brush — before rolling prevents the roller from getting too close to edges and creating uneven texture. Maintaining a wet edge means each new section of paint blends into the still-wet previous section, preventing visible lap marks where dry paint meets fresh paint.
Example: Work in manageable sections: cut in one wall, then immediately roll that same wall before the cut-in edges dry, rather than cutting in the entire room first.
5

Apply two thin coats rather than one heavy coat.

Thick coats take longer to dry, are prone to drips and sagging, and often dry unevenly, leaving texture differences visible under light. Two thin coats dry faster, bond more effectively, and deliver more consistent coverage and color depth.
Example: If you can see through the first coat when it's wet, that's expected — apply it evenly, let it dry per the manufacturer's recommended recoat time, then apply the second coat.
6

Mask with quality painter's tape and remove it at the right time.

Low-quality tape or tape left on too long can allow paint to bleed underneath or pull finish off trim when removed. Removing tape too early while paint is still wet can cause smearing. The window is specific: ideally remove tape while the final coat is still slightly tacky.
Example: Score along the tape edge with a utility knife before pulling it off at a 45-degree angle to get a clean, sharp line without tearing the dried paint film.

Quick Wins You Can Apply This Weekend

Not every improvement requires a full project overhaul. These actions take minutes to hours and have outsized impact on how your paint job turns out.

high Wipe your walls with a damp sponge right now — before buying a single drop of paint — to see how much grime has accumulated and decide if a deeper clean is needed.
high Buy a small angled sash brush (2–2.5 inches) if you don't own one — it's the single tool that most improves cut-in quality for a beginner.
medium Lay drop cloths or old bedsheets over the entire floor surface and tape them down at the baseboard — protecting the floor takes five minutes and saves hours of cleanup.
medium Remove outlet covers and switch plates rather than painting around them — the result looks noticeably cleaner and takes under two minutes per plate.

Protecting Your Work After the Job Is Done

A great paint job can be undone quickly by moving furniture back too soon, skipping a final inspection, or neglecting the room afterward. Most latex paints feel dry to the touch within an hour, but full cure — the point at which the paint film reaches maximum hardness and durability — takes considerably longer, often one to three weeks depending on humidity, temperature, and paint formulation. Check the manufacturer's guidance on the specific product you use.

The Cure Time vs. Dry Time Distinction

Dry time tells you when a coat is safe to recoat or touch lightly. Cure time tells you when the paint has reached its full hardness and washability. Treating a cured surface too soon — especially with cleaning products — can permanently damage the finish. Always check the product label for both figures, and when in doubt, wait longer.

Keep the room well-ventilated for at least 24 hours after the final coat. Avoid scrubbing or washing painted surfaces for at least two weeks. When you eventually do clean walls, use a soft, damp cloth rather than abrasive materials that can dull sheen or lift the film.

Touch-up paint should be stored in a sealed, labeled container. Even a small amount left over can save you from repainting an entire wall when a scuff or nick appears down the road. Staying ahead of minor maintenance is a habit that pays off — many homeowners only discover maintenance gaps when something breaks.

Home & Garden Editorial Team

QuickSearches.net | It Doesn't Get Quicker Than This!

Home & Garden Editorial Team is the collective byline for our editorial team and contributor network. Articles published under this byline or an editorial pen name are researched, written, and reviewed according to our editorial standards for clarity, consistency, and independence before publication.

Home ImprovementLawn & GardenHome Organization
View author profile

The content on this site is provided for informational purposes only and should not be considered a substitute for professional advice. While we strive to provide accurate and up-to-date information, we make no guarantees regarding its completeness or accuracy. Always consult a qualified professional for advice specific to your circumstances before making any decisions