
Switching Wireless Carriers Without Losing Your Number or Your Mind

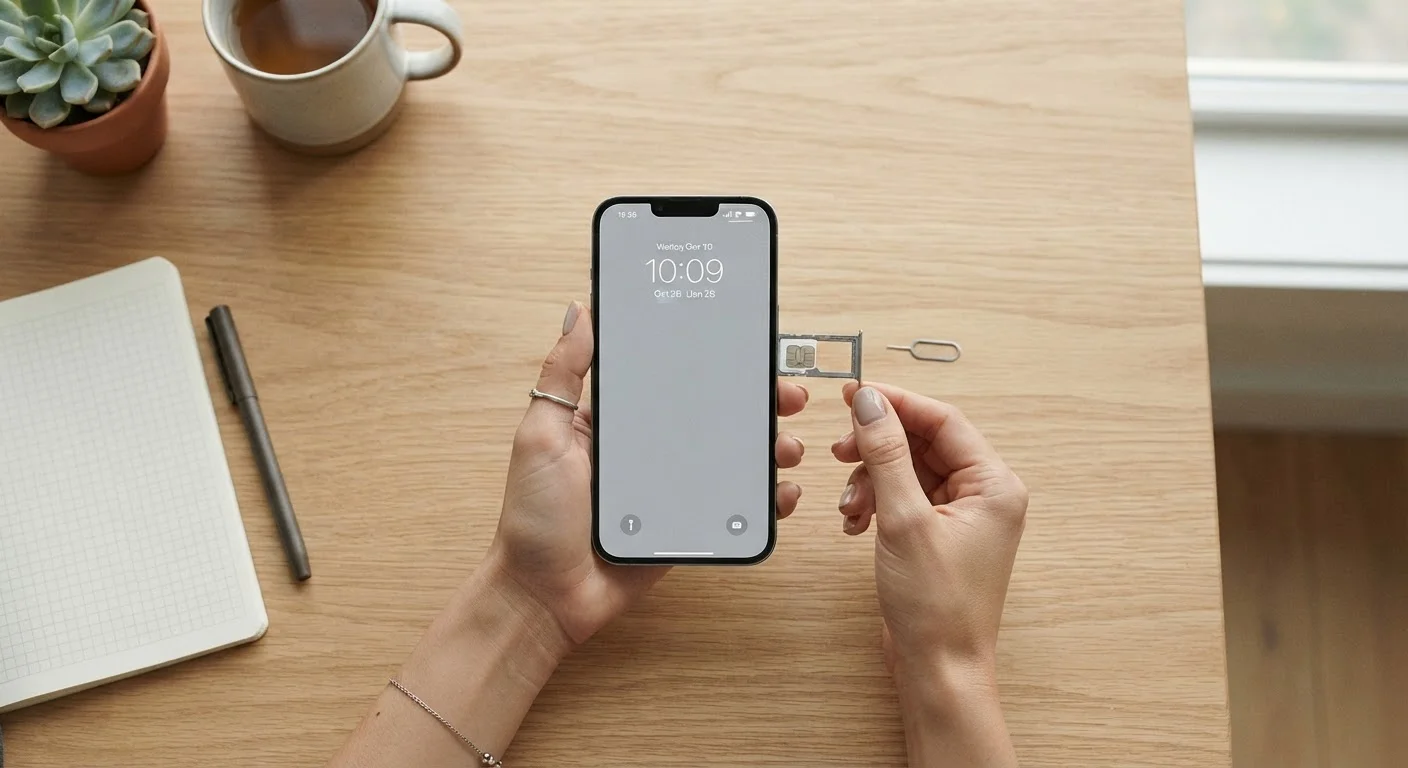
Photo: QuickSearches.net | It Doesn't Get Quicker Than This! editorial
Key Takeaways
- You have a legal right to keep your phone number when switching carriers - this is called number porting.
- Do not cancel your old service before your number transfer completes or you may lose it permanently.
- Gather your account number and PIN from your current carrier before you do anything else.
- Unlocked phones work on any compatible network; locked phones may need to be unlocked first.
- The porting process typically completes within a few hours, though some cases take up to 24 hours.
What Number Porting Actually Is - and Why It's Your Right
Number portability has been a federally mandated right in the United States since 2003. It means your phone number belongs to you, not your carrier. When you switch, the new carrier submits a port request to the old one, and the old carrier is legally required to release the number - they cannot hold it hostage to retain your business.
What trips most people up is not the technology but the preparation. Missing or mismatched account details are the leading cause of port delays and failures. The steps below walk you through the exact sequence to get it right the first time.
If you are also thinking about switching your home internet at the same time, the timing and billing considerations are similar - see our checklist for switching home internet providers for a parallel walkthrough.
What you will need
What You Need Before You Start
Having the right tools and information assembled before you begin prevents the most common failure points. Here is what you will need on hand:
Account number and transfer PIN
Required by the new carrier to initiate the number port from your old account.
Unlocked or compatible phone
Your device must be unlocked or natively compatible with the new carrier's network bands.
New SIM card or eSIM activation
The new carrier provides this to connect your device to their network.
Recent phone bill
Confirms your account details and current contract status in one place.
Watch for Early Termination Fees
Not sure whether the plan you are eyeing is actually a good fit? Our phone plan shopping guide covers how to read the fine print and spot hidden fees before you commit.
Step-by-Step: How to Port Your Number
Never Cancel Your Old Plan Early
Collect your account details from your current carrier
Before you touch anything else, log in to your current carrier's account portal or call their customer service line and write down your account number, account PIN (sometimes called a transfer PIN or port-out PIN), and the billing name and address on the account. These three pieces of information are required by the new carrier to authorize the transfer. Some carriers generate a one-time transfer PIN that expires within a set window, so do this step right before you initiate the port.
Check whether your phone is unlocked
A carrier-locked phone is programmed to work only on that carrier's network. To use the same device on a new network, it must first be unlocked. Federal rules require carriers to unlock devices once they are fully paid off and any contractual period has ended. Contact your current carrier, check their website's unlock policy page, or dial into their automated system to request an unlock. The process can take a few minutes to a few days depending on the carrier. If your phone is already unlocked - or if you are getting a new device - skip ahead.
Sign up for a plan with your new carrier
Choose and activate a plan with the new carrier. When prompted during sign-up - online, in-store, or over the phone - select the option to transfer your existing number rather than get a new one. You will be asked to enter the account number, transfer PIN, and billing details you gathered in Step 1. Double-check every character before submitting; mismatches are the most common reason ports get delayed.
Insert the new SIM card or activate eSIM
Your new carrier will provide a physical SIM card or eSIM activation instructions. For a physical SIM, power off your phone, swap out the old SIM for the new one, then power back on. For eSIM, follow the carrier's app or QR-code activation flow without any physical card. Your phone will connect to the new network, but your old number will not ring through yet - that happens once the port completes.
Wait for the port to complete
Most ports complete within a few hours. During this window, calls and texts may route through either network intermittently. You will typically receive a confirmation text or notification from the new carrier when your number has fully transferred. Once confirmed, test outgoing and incoming calls and texts to make sure everything is working as expected.
Verify your old account closes automatically
A completed port automatically triggers cancellation of your old line - you do not need to call and cancel separately. However, it is worth logging into your old carrier's account after 24-48 hours to confirm the line is closed and that no additional charges are being billed. If the account is still active, contact the old carrier's customer service with your port confirmation number.
Confirm Coverage Before You Commit
For a broader look at how wireless plans work - from plan types and billing structures to reading your monthly statement - the complete U.S. wireless plan guide gives useful context if anything in the process feels unfamiliar.
Setting Up Your New Device After the Switch
If you are also moving to a new phone alongside a new carrier, the switch does not have to mean losing your contacts, photos, or app history. Both Android and iPhone have built-in migration tools that handle most of the heavy lifting. Our guide to setting up a new phone walks through the full transfer process so nothing gets left behind.
Once your number has ported successfully and your device is set up, take a few minutes to update any accounts that use your phone number for two-factor authentication - banking apps, email, and other security-sensitive services. This is easy to overlook but important to do promptly.
The content on this site is provided for informational purposes only and should not be considered a substitute for professional advice. While we strive to provide accurate and up-to-date information, we make no guarantees regarding its completeness or accuracy. Always consult a qualified professional for advice specific to your circumstances before making any decisions