
Setting Up a New Home Internet Connection

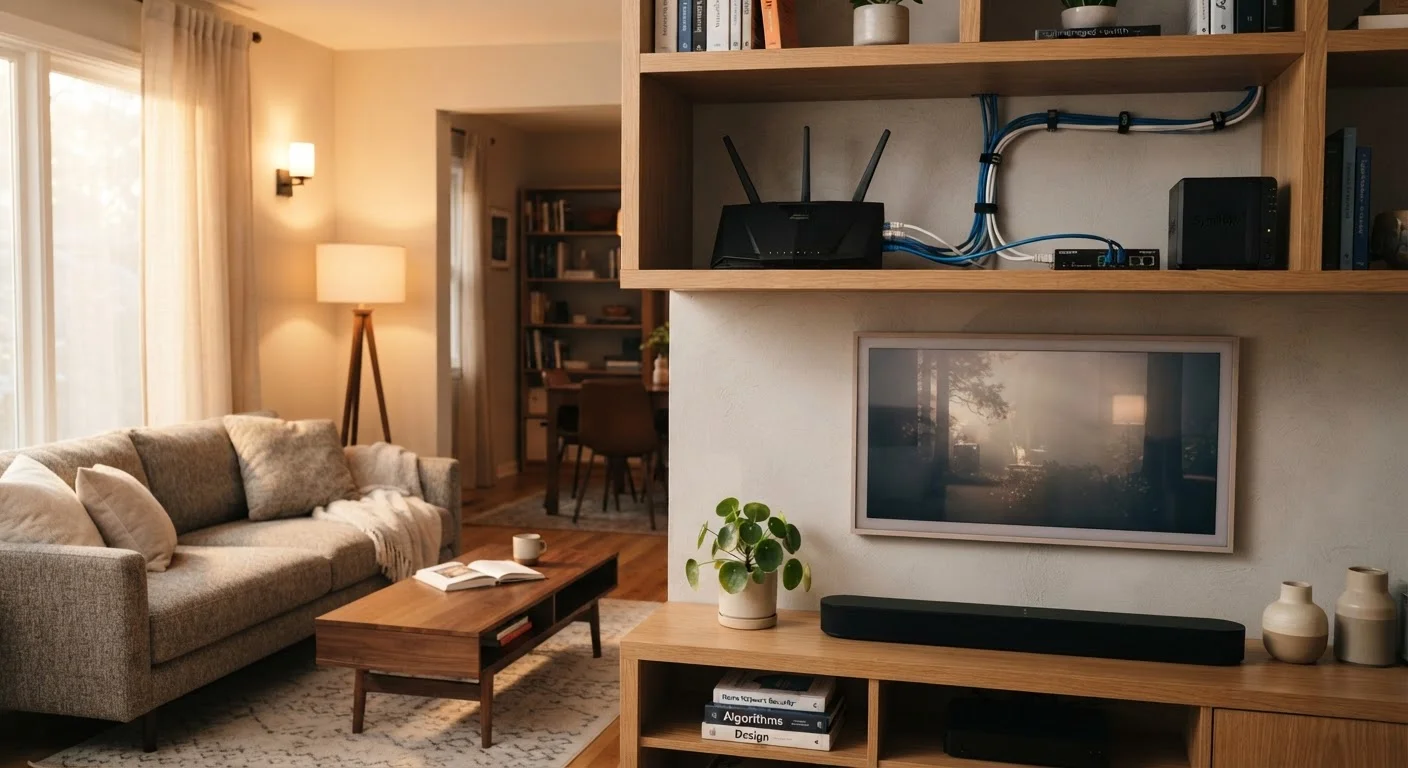
Photo: QuickSearches.net | It Doesn't Get Quicker Than This! editorial
Key Takeaways
- Confirm your address is in the provider's service area before signing any agreement.
- Router placement significantly affects Wi-Fi coverage - central and elevated is generally best.
- Run a speed test after setup to verify you're receiving the speeds you're paying for.
- Equipment fees and installation charges are negotiable more often than providers advertise.
- Document your plan details, equipment serial numbers, and confirmation numbers from day one.
What to Sort Out Before Installation Day
Getting a new internet connection running smoothly starts well before the technician arrives or the self-install kit shows up. If you haven't already compared your options, our guide to home internet speeds, costs, and contracts breaks down the connection types available in the US and how to evaluate them honestly.
Don't Assume Your Address Is Covered
If you're switching providers rather than setting up internet for the first time, review the checklist for switching providers to avoid overlapping billing or service gaps during the transition.
Read the Contract Before You Sign
What you will need
Having these items sorted in advance means fewer delays on installation day and less back-and-forth with support lines.
Step-by-Step Setup
Work through the following steps in order. Self-installs and professional installations follow the same general sequence - the main difference is that a technician handles the physical line connection for fiber and some cable setups.
Modem
Translates the incoming signal from your ISP (cable, fiber, or DSL) into a usable internet connection inside your home.
Wireless Router
Distributes your internet connection to devices wirelessly throughout your home.
Ethernet Cable (Cat5e or Cat6)
Provides a wired connection for speed testing and for devices that benefit from stable, low-latency links.
Smartphone or Laptop
Used to complete account activation, run speed tests, and configure router settings.
Power Strip or Surge Protector
Protects your modem and router from power fluctuations and provides convenient outlet access near your setup point.
Confirm Availability and Choose Your Plan
Before committing, verify that your specific address can receive service from the provider you're considering. Use the provider's online address checker as a starting point, then call to confirm - especially for fiber or fixed wireless services, where coverage maps can be optimistic.
When selecting a plan, focus on two numbers: the download speed tier and the monthly price after any introductory period ends. A 200 Mbps plan is typically sufficient for streaming, video calls, and general browsing in a household of two to four people. Households with heavy simultaneous use or remote workers may benefit from 400 Mbps or higher.
Understand Equipment Options Before Installation
ISPs typically offer two options: renting their equipment monthly or supplying your own compatible modem and router. Renting is convenient but adds $10-$20 per month to your bill indefinitely. Purchasing compatible equipment outright often pays for itself within a year.
If you choose to use your own equipment, confirm compatibility with your ISP before buying - not all modems work on every network type (DOCSIS 3.1 for cable, for instance). For fiber connections, the ISP typically provides the required optical network terminal (ONT), which is non-negotiable.
Schedule Installation and Prepare Your Space
Most ISPs offer self-install kits for cable and DSL, where a technician is not required. Fiber and some fixed wireless setups typically require a professional installation appointment. When scheduling, choose a window when someone can be home to grant access and answer any questions.
Before the technician arrives - or before you unbox a self-install kit - decide where your router will live. Aim for a central location in your home, elevated off the floor, and away from thick concrete walls, large appliances, and other routers or cordless phones that can interfere with the signal.
Connect and Activate Your Equipment
Follow the sequence: connect the modem to the incoming line (coaxial, phone, or fiber), then connect the modem to the router via ethernet, then power both on. Wait two to three minutes for the modem to establish a connection with your ISP before proceeding.
Activation may require calling a number printed on the equipment box, logging into an account portal, or using the ISP's mobile app. Have your account number and the modem's MAC address (printed on its label) ready to speed up this step.
Configure Your Wi-Fi Network
Access your router's admin interface - typically by typing its default IP address (often 192.168.1.1 or 192.168.0.1) into a browser while connected via ethernet. From there, set a unique network name (SSID) and a strong password. Avoid using your name, address, or ISP name as your network name, as this can make it easier for others to target your network.
If your router supports both 2.4 GHz and 5 GHz bands, consider giving each a distinct name so you can manually connect devices to the appropriate band - 5 GHz offers faster speeds at shorter range, while 2.4 GHz reaches farther with lower throughput.
Test Your Connection and Document Your Setup
Connect a laptop or desktop to the router via ethernet cable and run a speed test. Compare the result to your plan's advertised download speed. A reading within 10-20% of the stated speed is generally acceptable - significant shortfalls warrant a call to your ISP's technical support.
Once satisfied, record your account number, plan details, monthly rate, contract end date (if any), and the serial numbers of your modem and router. Store this somewhere accessible - you'll need it for billing questions and future troubleshooting.
Use a Free Speed Test to Verify Your Service
Once your connection is stable and running at the speeds you're paying for, the next priority is keeping it that way. Our article on getting the most reliable connection from your service covers router placement habits, firmware updates, and when to consider a wired connection for key devices.
The content on this site is provided for informational purposes only and should not be considered a substitute for professional advice. While we strive to provide accurate and up-to-date information, we make no guarantees regarding its completeness or accuracy. Always consult a qualified professional for advice specific to your circumstances before making any decisions