
Moving In: What to Document Before You Unpack a Single Box

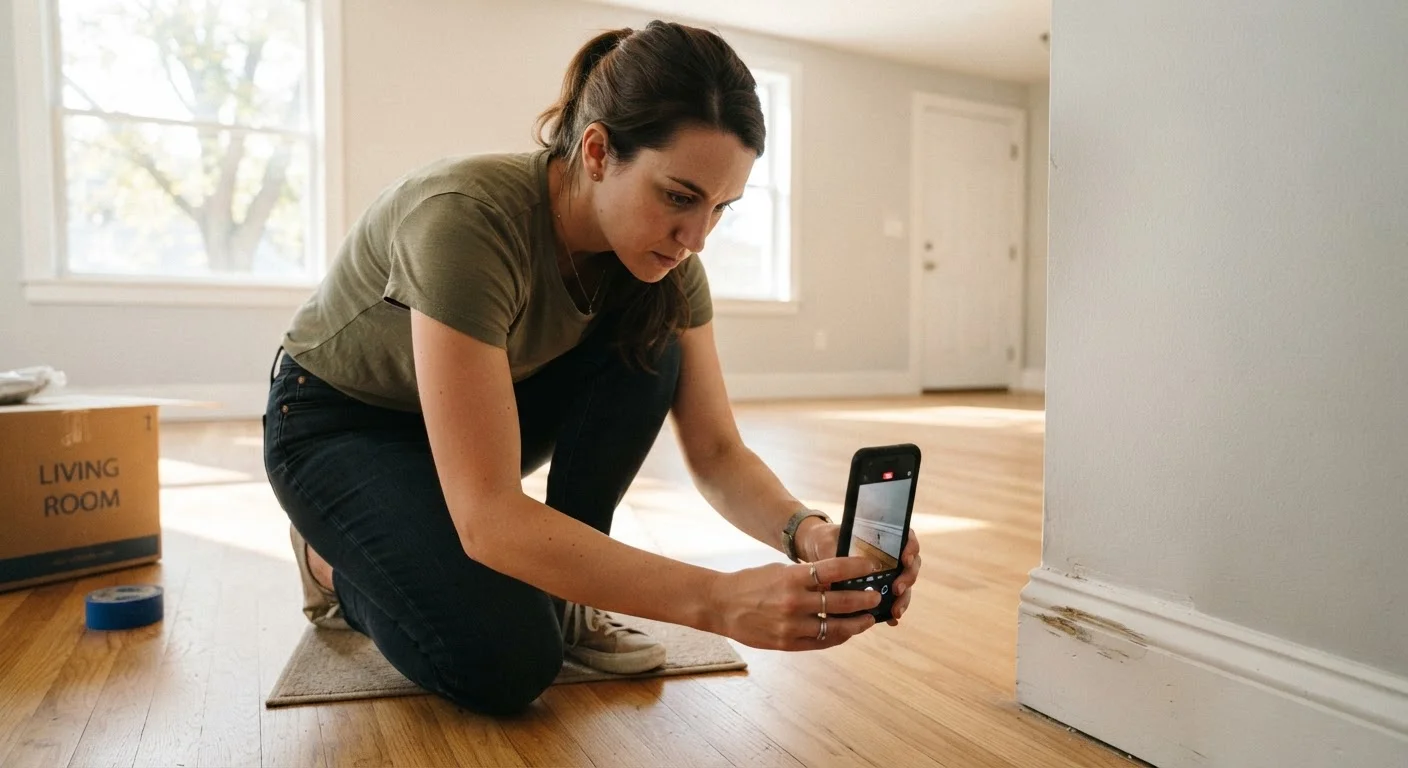
Photo: QuickSearches.net | It Doesn't Get Quicker Than This! editorial
Key Takeaways
- A thorough move-in inspection is your primary protection against unfair security deposit deductions.
- Photograph and video every room, fixture, and appliance before furniture enters the space.
- Submit your completed documentation to your landlord in writing on move-in day and keep a copy.
- Pre-existing damage that goes unrecorded can legally be charged back to you at move-out.
- Most states require landlords to return deposits within 14-30 days; documented evidence strengthens any dispute.
Why Move-In Documentation Is Your First Line of Defense
Your security deposit - often one to two months' rent - is at stake the moment you pick up those keys. Landlords are permitted to deduct for damage beyond normal wear and tear, but that standard is subjective. Without a clear, timestamped record of the unit's condition on day one, you have little recourse if a landlord claims a pre-existing scratch on the hardwood or a water stain on the ceiling was caused by you.
State tenant protection laws vary widely, but virtually all of them place the burden of proof on whichever party disputes the deposit claim. A thorough move-in inspection - completed with photos, video, and a written checklist - creates the factual record that protects your money. Think of it the same way you would documenting a rental car before leaving the lot.
This checklist walks you through every room and system in a standard rental unit. Complete it before you carry in furniture or boxes. Plan for 45 to 90 minutes, depending on the size of the unit.
Smartphone with Timestamp-Enabled Camera
Captures date-and-time-stamped photos and video of all pre-existing conditions throughout the unit.
Cloud Storage Folder (e.g., Google Drive or iCloud)
Stores and organizes your documentation in a shareable format you can send to your landlord and access later.
Written Move-In Checklist (this article or landlord-provided form)
Creates a room-by-room written record that complements photos and is harder to dispute than memory alone.
Flashlight or Phone Torch
Illuminates dark corners, cabinet interiors, and poorly lit areas where damage is easy to miss.
Email Client
Creates a timestamped, trackable record of your documentation submission to the landlord on move-in day.
How to Use This Checklist Effectively
Before you start, enable location and timestamp data on your phone's camera. Shoot in good light - open blinds and turn on overhead fixtures. For each item flagged, take a wide shot showing context (the whole wall) and a close-up showing the specific defect. A short walkthrough video at the start and end is also valuable.
Compile your photos into a shareable folder (cloud storage works well) and email the link or a complete written report to your landlord the same day you receive keys. Keep the sent email and any landlord response. If your landlord provides a move-in checklist form, complete it and request a signed copy back.
Verbal Agreements About Damage Don't Hold Up
For a broader look at how documentation habits apply to homeownership as well, see keeping good records as a homeowner. The organizational principles translate directly to renting.
Before You Enter
Every Room - Walls, Floors, Ceilings
Kitchen
Bathrooms
Appliances and Systems
Final Documentation Steps
After the Inspection: What Comes Next
Once your documentation is complete and submitted, store everything in a dedicated folder - digital and physical if possible. Note the date you sent it and confirm receipt from your landlord if you can. Revisit your move-in report any time a maintenance issue arises during your tenancy; it establishes baseline condition and helps distinguish new damage from pre-existing problems.
When your lease ends, repeat the same room-by-room walkthrough with your original photos side by side. This comparison is the clearest evidence you have when negotiating deposit returns. A similar structured approach applies to other property reviews - the annual home inspection checklist offers a useful model for systematic room-by-room evaluation.
This article provides general informational guidance for renters and does not constitute legal advice. Tenant rights and landlord obligations vary by state and locality. Consult a local tenant rights organization or licensed attorney if you have questions about your specific lease or dispute.
The content on this site is provided for informational purposes only and should not be considered a substitute for professional advice. While we strive to provide accurate and up-to-date information, we make no guarantees regarding its completeness or accuracy. Always consult a qualified professional for advice specific to your circumstances before making any decisions