
Why Grout Cracks Keep Coming Back

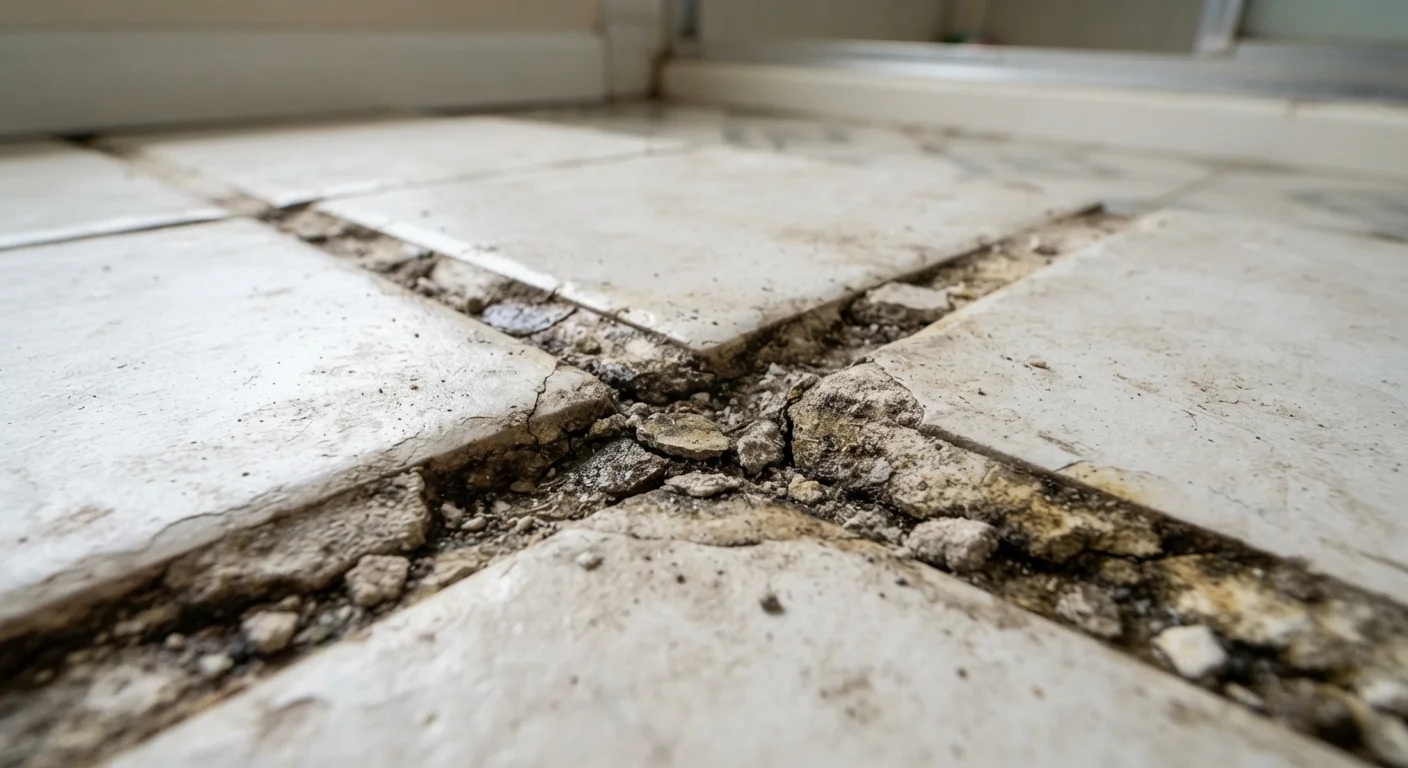
Photo: QuickSearches.net | It Doesn't Get Quicker Than This! editorial
Key Takeaways
- Grout cracks that keep returning usually signal movement or moisture problems beneath the tile.
- Patching grout without addressing the root cause guarantees the cracks will reappear.
- Proper substrate preparation and the right grout type are the two most overlooked repair steps.
- Expansion joints are not optional - skipping them causes recurring stress fractures in grout lines.
- Some recurring grout issues require a licensed tile contractor to assess structural problems safely.
Why Grout Keeps Failing - The Real Story
You've regrouted the same bathroom wall twice in two years. The new grout looks great for a few weeks, then the familiar hairline cracks reappear right in the same spots. This is one of the most frustrating home repair cycles homeowners face - and it almost always means the surface fix isn't reaching the actual problem.
Grout is not a structural material. It fills the gaps between tiles, but it has no flexibility and can't compensate for movement, moisture intrusion, or an unstable base underneath. When grout cracks repeatedly, something beneath it - the substrate, the adhesive layer, or even the framing - is moving, deteriorating, or was never properly prepared to begin with.
Understanding why this happens is the first step to actually fixing it. The mistakes below are the most common reasons grout repairs fail - and what you can do differently to get a result that actually holds. This kind of problem also connects to broader upkeep habits; as noted in our guide to home maintenance tasks new owners often overlook, small issues ignored early tend to compound into expensive repairs later.
Patching over old grout without removing it first.
Ignoring movement in the substrate or tile underneath.
Using grout in corner joints and plane transitions instead of caulk.
Choosing the wrong grout type for the application.
Skipping proper curing and sealing after grouting.
How to Break the Cycle for Good
The pattern of patch-crack-patch is frustrating but fixable once you shift your approach from cosmetic repair to root-cause repair. Before touching new grout, press gently on the surrounding tiles. Any give, hollow sound when tapped, or movement is a sign the adhesive has failed or the substrate has deteriorated - and no amount of fresh grout will hold until that's corrected.
Water Damage Behind Tiles Is a Serious Risk
If the tile itself moves, the repair scope expands: tiles need to be removed, the old adhesive scraped clean, the substrate assessed (and replaced if it's water-damaged cement board or degraded drywall), and then retiled before regrouting. This is the kind of work many homeowners can handle with patience and basic tiling tools, but it's worth being honest about your skill level. Work involving structural subfloor issues, or tiles in areas with persistent leaks, is generally better assessed by a licensed tile contractor.
Once underlying problems are resolved, use a grout type matched to the joint width and location - unsanded grout for narrow joints under 1/8 inch, sanded for wider gaps, and epoxy grout for high-moisture or high-traffic areas. Add silicone caulk (not grout) at all corners, changes of plane, and transitions - these are the movement zones where rigid grout will always crack eventually. Done correctly, a regrout job should last many years, not many weeks.
This article is for general informational purposes only. For structural concerns, water damage, or work requiring permits, consult a licensed contractor and verify local building code requirements before proceeding.
The content on this site is provided for informational purposes only and should not be considered a substitute for professional advice. While we strive to provide accurate and up-to-date information, we make no guarantees regarding its completeness or accuracy. Always consult a qualified professional for advice specific to your circumstances before making any decisions