
The Weekend Before a Big Renovation: What to Prepare

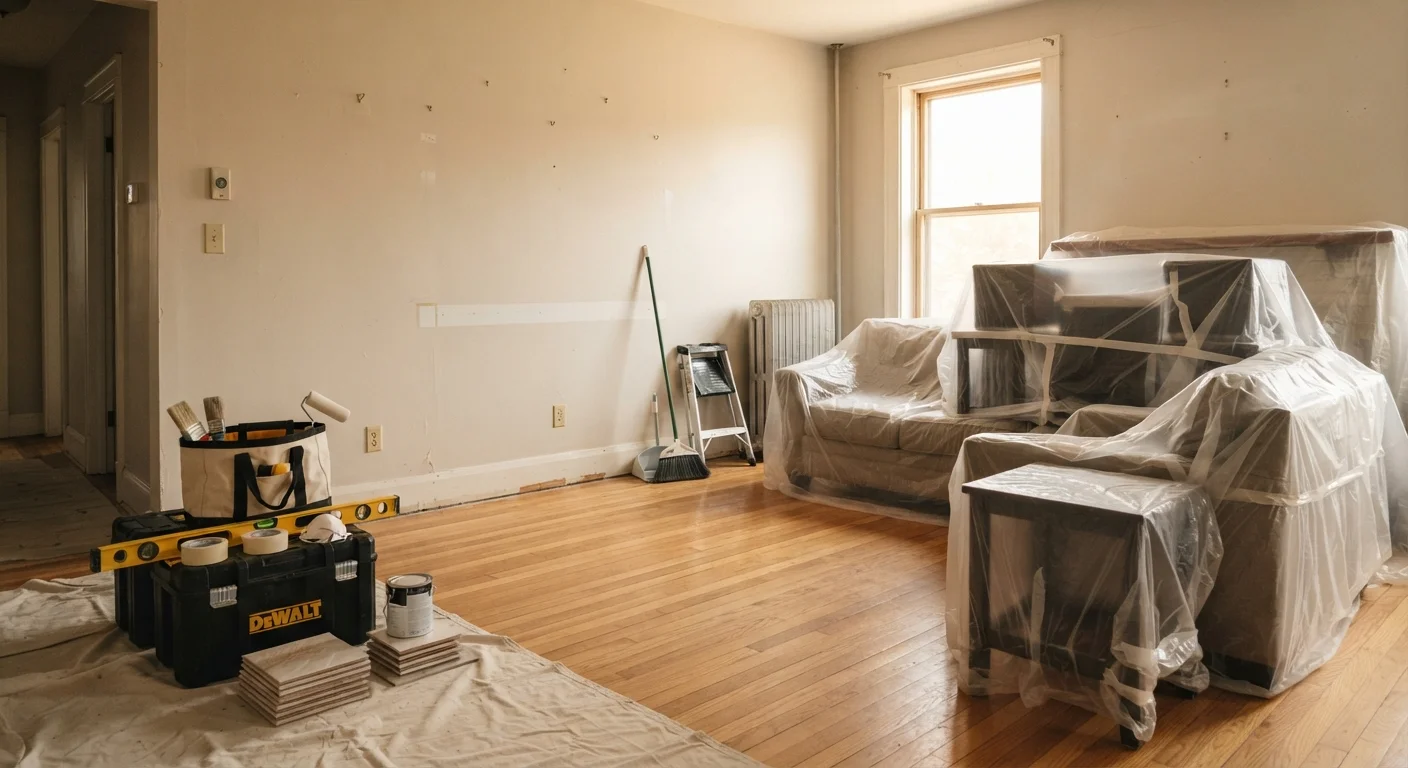
Photo: QuickSearches.net | It Doesn't Get Quicker Than This! editorial
Key Takeaways
- Clearing and protecting the work area before contractors arrive prevents costly damage to furniture and flooring.
- Confirming permits, contractor schedules, and material deliveries in writing reduces day-of surprises.
- Having the right tools and safety gear on hand keeps work moving without unnecessary delays.
- Communicating the renovation plan to your household helps everyone stay safe and comfortable during the project.
- A pre-renovation walkthrough lets you document existing conditions and avoid disputes later.
Why the Weekend Before Matters
The days immediately before a renovation begin are surprisingly high-stakes. Contractors arrive ready to work, and any gap in your preparation - a piece of furniture still in the room, a missing permit posted on the door, or an unconfirmed material delivery - can stall progress and cost you money. Think of this weekend as your final quality-control window.
This checklist is designed for homeowners tackling mid-to-large projects: kitchen remodels, bathroom gut-outs, flooring replacements, or room additions. Whether you're managing a hired crew or doing the work yourself, the steps below apply. If you're still in the early planning phase, our room-by-room decluttering checklist can help you clear out before you clear out space for construction.
Work through this list systematically on Saturday so you have Sunday as a buffer for anything that comes up unexpectedly.
Space Preparation
Permits, Plans, and Contractor Coordination
Utilities and Safety
Household Communication and Logistics
Personal Readiness
Tools and Supplies You'll Need on Hand
Before crews arrive Monday morning, gather everything listed below. Having these items accessible - not buried in a garage or a car trunk - prevents interruptions that slow the job down.
Heavy-duty plastic sheeting
Protects floors, furniture, and adjacent surfaces from dust, debris, and paint splatter.
Painter's tape
Secures plastic sheeting to walls, trim, and floors without leaving adhesive residue.
N95 dust masks
Provides respiratory protection when sanding, cutting drywall, or working near demolition debris.
Safety glasses
Protects eyes from flying debris during demolition or power tool use.
Utility knife and box cutter
Used for scoring materials, cutting sheeting, and opening supply packaging efficiently.
Labeled zip-lock bags
Keeps small hardware like screws, outlet covers, and hinges organized and easy to find during reassembly.
Smartphone or camera
Documents the pre-renovation condition of walls, floors, and fixtures with dated photos.
Portable work light
Ensures adequate lighting in areas where power may be temporarily disconnected.
Electrical and Gas Work Requires a Licensed Professional
Once your tools are staged, do a final walkthrough of the space as it currently stands. Take dated photos or short videos of every wall, floor, ceiling, and fixture in the renovation zone. This visual record protects you in case of disputes over pre-existing damage. It's a habit worth keeping for any significant home project - much like the systematic approach in our annual home inspection checklist.
The content on this site is provided for informational purposes only and should not be considered a substitute for professional advice. While we strive to provide accurate and up-to-date information, we make no guarantees regarding its completeness or accuracy. Always consult a qualified professional for advice specific to your circumstances before making any decisions