
Drywall Repair Without the Guesswork

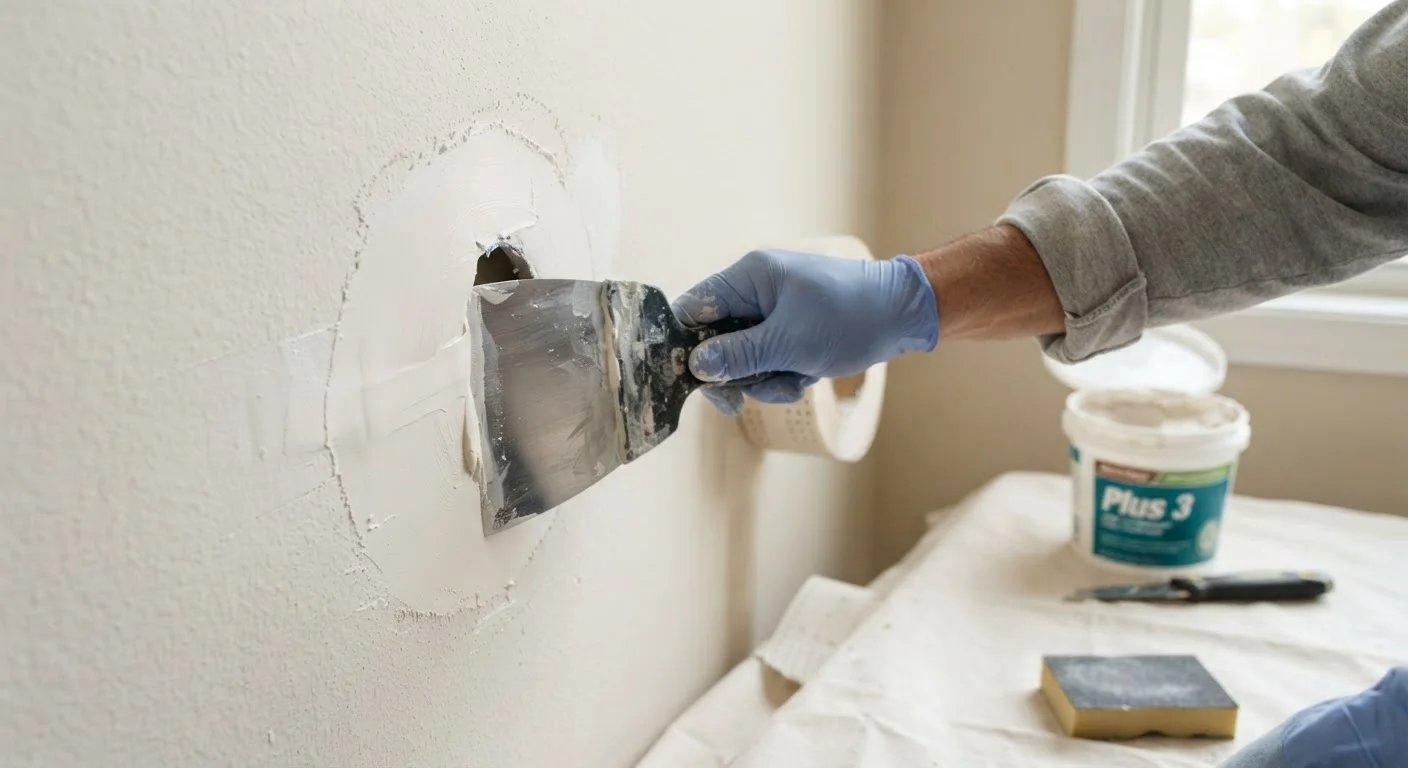
Photo: QuickSearches.net | It Doesn't Get Quicker Than This! editorial
Key Takeaways
- Match your repair method to hole size - small, medium, and large holes each need a different approach.
- Feathering joint compound in thin, multiple coats prevents cracking and creates an invisible finish.
- Sanding between coats is essential; skipping it is the most common reason repairs stay visible.
- Always prime the repaired area before painting to avoid a patchy, mismatched finish.
- Holes larger than six inches typically require backing support - skipping it leads to a weak, sunken patch.
Why Drywall Repairs Go Wrong
Most failed drywall repairs come down to three mistakes: applying compound too thick in a single coat, skipping sanding between coats, and painting without priming. Each of these produces a result that's visible the moment light hits the wall at an angle - an unsightly bump, a sunken dimple, or a dull patch where the paint looks different. The good news is that the correct techniques aren't difficult. They just require patience and the right sequence.
It also helps to know your limits. Drywall repair is well within reach for most homeowners for holes up to about six inches. Beyond that, or if the damage stems from water intrusion, mold, or structural movement, the underlying cause needs to be addressed before the surface is patched. Our guide on when to DIY and when to call a professional can help you make that call confidently.
Check for Wires and Pipes First
If you're newer to home improvement in general, tackling home improvement as a complete beginner is a solid starting point before diving into wall repairs.
Tools and Materials You'll Need
Having the right tools on hand before you start keeps the job clean and efficient. You don't need a full contractor's kit - just a focused set of items suited to your repair size.
Putty knife or drywall knife (4-6 inch)
Applies and smooths joint compound for small to medium patches.
Wide taping knife (10-12 inch)
Feathers compound over a larger area for seamless blending on bigger repairs.
Drywall patch kit or mesh patch
Provides backing support for holes in the 1-6 inch range without cutting new drywall.
Joint compound (all-purpose or lightweight)
Fills the hole and creates the smooth surface needed for painting.
Sandpaper (120-grit and 220-grit)
Smooths dried compound between coats and provides a paint-ready finish.
Drywall screws and backing board
Creates a solid anchor for large patches where a mesh kit isn't sufficient.
Drywall primer (PVA)
Seals the porous compound so paint adheres evenly and doesn't look patchy.
Sanding sponge
Useful for light finish sanding in tight corners or around edges without over-sanding.
What you will need
With everything gathered, the process moves quickly. Most small to medium repairs can be completed in a single afternoon, though drying time between coats means you may want to spread the work across two days for the cleanest result.
Feathering Is the Key to Invisible Repairs
Step-by-Step Repair Instructions
Follow these steps in order, matching the specific technique to your hole size as described in Step 1. Rushing ahead without allowing compound to dry is the single most common cause of a repair that needs to be redone.
Assess the damage and choose your method
The repair approach depends entirely on hole size. Use this as your guide:
- Nail holes and small dings (under ½ inch): Fill directly with spackling compound or lightweight joint compound using a finger or small putty knife.
- Medium holes (½ inch to 6 inches): Use a self-adhesive mesh patch kit, available at any hardware store, as backing before applying compound.
- Large holes (over 6 inches): Cut out the damaged section to a clean rectangle, add a wood or drywall backer strip inside the wall cavity, and attach a new drywall piece.
If you're unsure which filler to use, our guide to spackling vs. joint compound breaks down which product suits each situation.
Prepare the damaged area
Use a putty knife to scrape away any loose paper facing, crumbled gypsum, or old paint flakes around the hole. The edges should be firm and clean - any loose material will prevent compound from bonding properly. For medium and large holes, gently press inward any paper that is peeling away from the edge, or trim it with a utility knife.
Wipe the area with a lightly damp cloth and allow it to dry completely before applying any compound.
Apply backing support (medium and large holes only)
For medium holes, press a self-adhesive mesh patch firmly over the hole, centered so the mesh extends at least an inch beyond the opening on all sides. Smooth the edges down so nothing is lifting.
For large holes, cut a piece of scrap wood or a purpose-cut backer strip slightly longer than the hole is wide. Insert it through the hole, hold it flush against the back of the drywall, and secure it with drywall screws driven through the existing wall surface on both sides of the hole. Then cut a drywall patch to fit the opening snugly and screw it into the backer.
Apply the first coat of joint compound
Load a modest amount of all-purpose or lightweight joint compound onto your putty knife. Press it firmly into and over the patch or hole, working it into any gaps. Spread it in a thin, even layer that extends a few inches beyond the repair on all sides.
Don't try to fill the entire depth in one pass - thick applications trap air and crack as they dry. The goal for the first coat is simply to seat the compound and cover the mesh or patch.
Allow to dry fully. Drying time varies by product and humidity, but plan on at least four to six hours, or overnight to be safe.
Sand, then apply additional coats
Once the first coat is completely dry (no cool or dark spots), sand lightly with 120-grit sandpaper. You're not trying to flatten the compound - just knock down any ridges or trowel marks. Wipe away dust with a dry cloth.
Apply a second coat, this time spreading it wider and thinner than the first. Use a wider knife if you have one. Let it dry, sand again, and repeat with a third coat if needed. Three thin coats almost always produce a better result than two thick ones.
Finish sand and prime before painting
When your final coat is dry, do a finish sand with 220-grit sandpaper. Run your hand across the repair - it should feel flush with the surrounding wall and show no ridges under raking light.
Apply a coat of drywall primer (PVA primer works well) to the repaired area. This step seals the porous compound and ensures the topcoat paint matches the sheen of the rest of the wall. Once the primer is dry, paint as normal.
For tips on getting a professional-looking finish once the walls are ready, see our article on what pros do differently when painting a room.
Don't Skip the Primer Step
The content on this site is provided for informational purposes only and should not be considered a substitute for professional advice. While we strive to provide accurate and up-to-date information, we make no guarantees regarding its completeness or accuracy. Always consult a qualified professional for advice specific to your circumstances before making any decisions